
I used to be frequent with practicing problems from CodeChef/ HackerRank back in college. The transition to a corporate life one year back took me on a break. One fine evening, I realized I am missing something and that bought me back to Algorithmic challenges.
It’s been a year now since I have been working at Microsoft. The transition from Python/ Sublime/ Git to C#/ Visual Studio/ TFS has been one interesting journey. A crucial part of this comes from the magic that Visual Studio does with any piece of code. So, the obvious next step for me was to install the Visual Studio Code on my personal laptop before I jump into solving Algorithmic problems again. In this blog, I mention the installation process and how you can compile a CPP code using VS Code.
Visual Studio Code doesn’t come with a compiler for CPP. So, you can choose your own compiler. I decided to use GCC. Let’s go ahead with the installation process. In this example, I will be creating a simple program to print “Hello, World!”.
- Download XCode from the App Store.
- Download Visual Studio Code from https://code.visualstudio.com.
- Once the installation is complete, open Visual Studio Code.
- Install the CPP extension for Intellisense. Go to extensions in the left pane and search for “C++”.

- The intellisense with Visual Studio works best when working with folders. So, go to Finder and create a folder and open it in Visual Studio Code.
- Add a new file to the folder with the extension .cpp
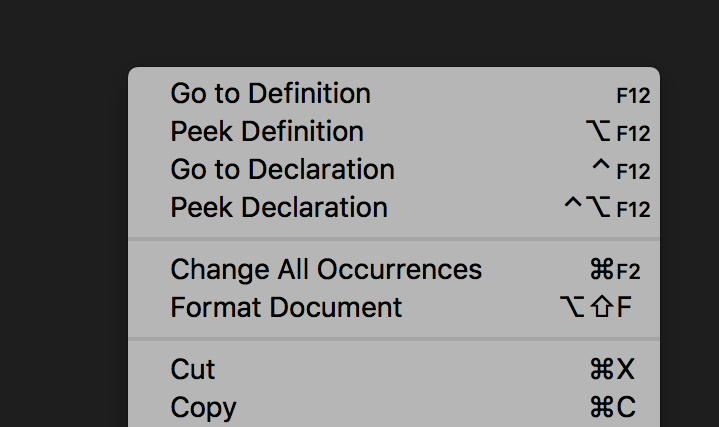
- Write your code and save. One of the magical things that VS code does is with the formatting of your document so that you can code carefree. Simply use the shortcut
Alt+Shift+For right click on the screen and selectFormat Option.
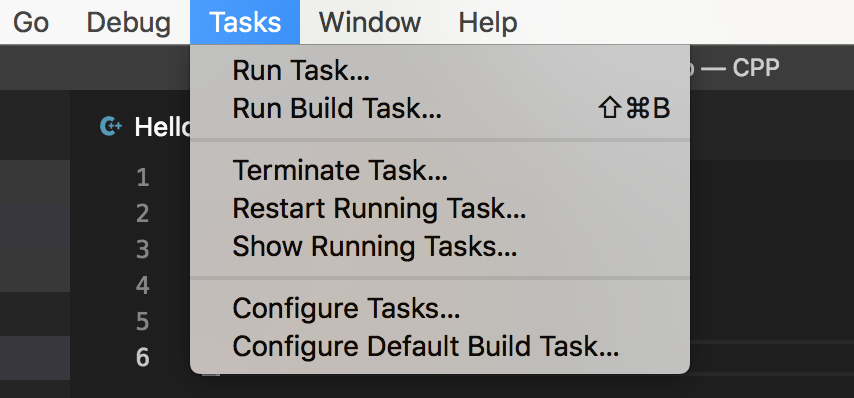
- Next, go to
Tasksand selectRun Build Tasksor use the shortcutShift+Command+B.
- This gives the following error window.

- Click on Configure build task and then select the option Create tasks.json file from the template. Selecting this will automatically create a task file for you.

- Next, select the arbitrary external command option from the drop-down.

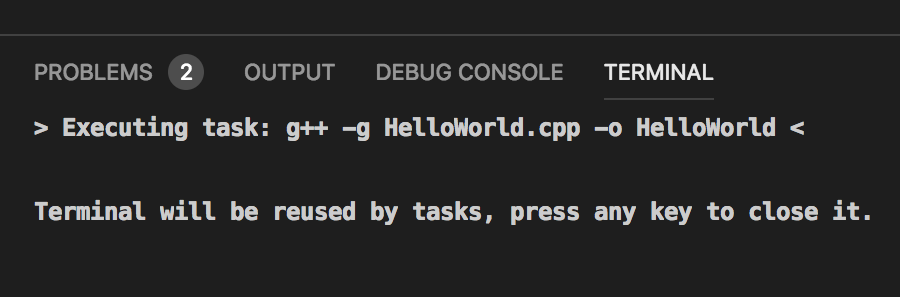
- In your tasks.json file make the following changes.
"command": g++ -g <nameOfYourCppFile>.cpp -o <ChooseNameOfYourObjectFile>
"group": {
            "kind": "build",
            "isDefault": true
}
isDefult allows you to set this command as the default when you build again.
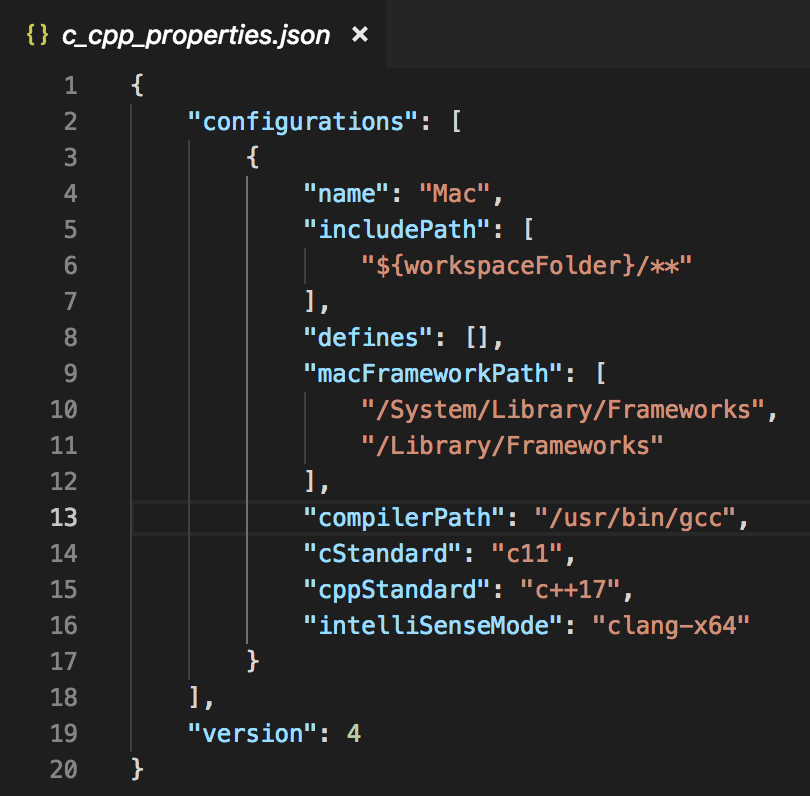
- Also, make sure your c_cpp_settings.json file has the correct path to your compiler. If you are using gcc you can find the path using the following command.
which gcc
- Now, build again and you will see the build was successful and an object file with the name specified in tasks.json can be seen in the VS Code explorer window.
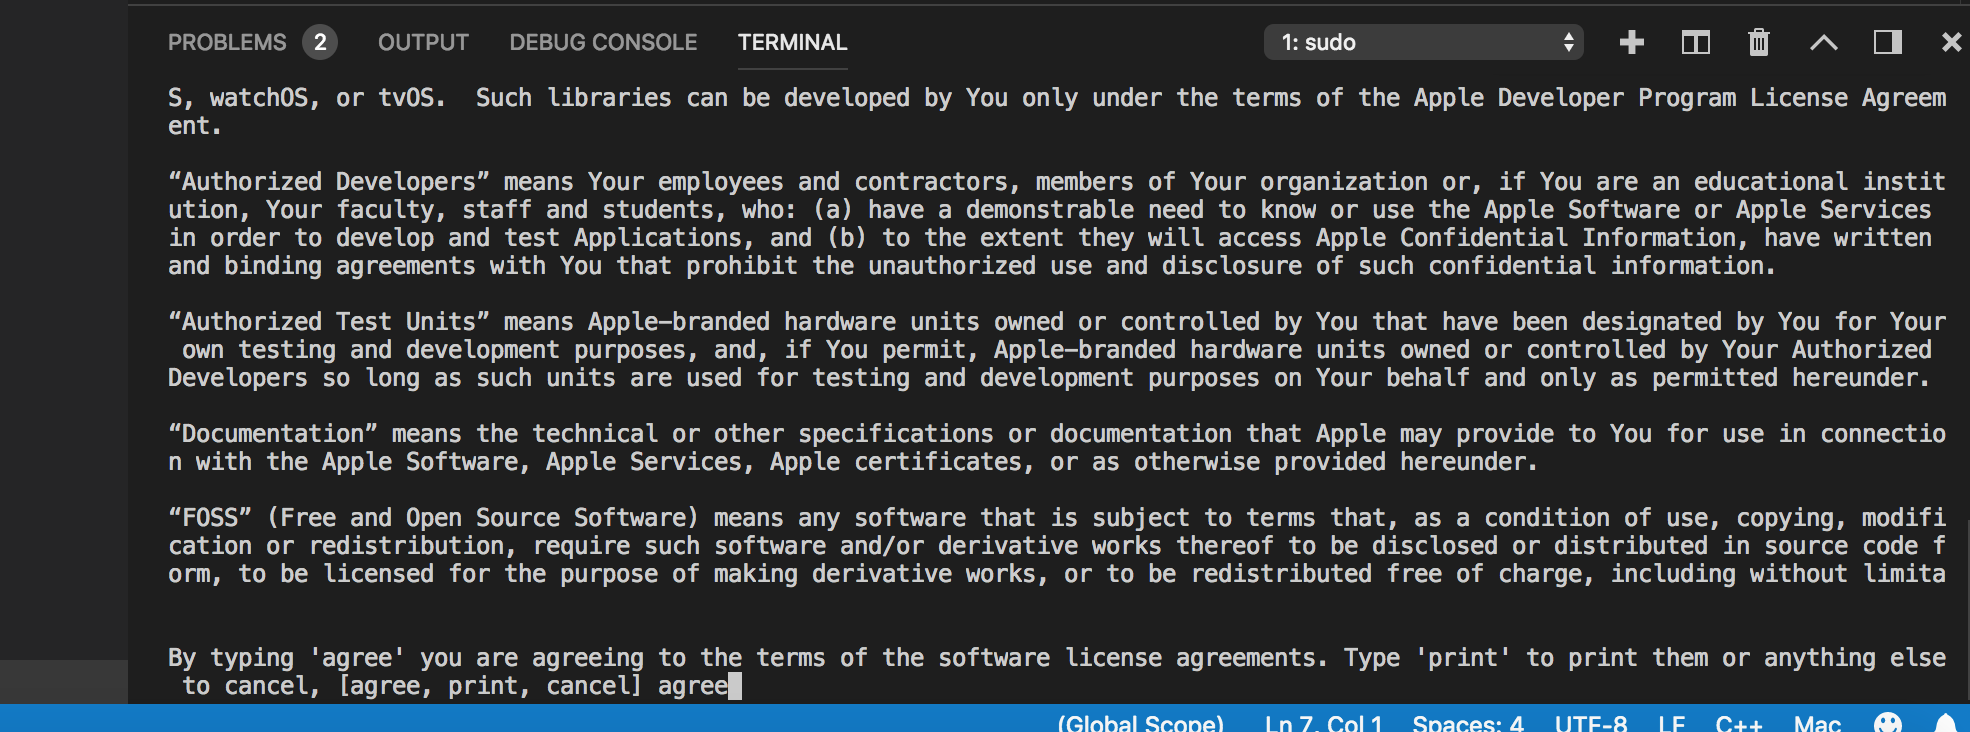
- In case, you get the following error, then go to
Viewand selectTerminaland run the command as mentioned in the error. Accept the Terms and Conditions of XCode and build again.

- Once the object file has been created, open the MAC OS Terminal window and navigate to the object file. Run using the following command as done with gcc.
./<nameOfObjectFile>
This will execute your program successfully.

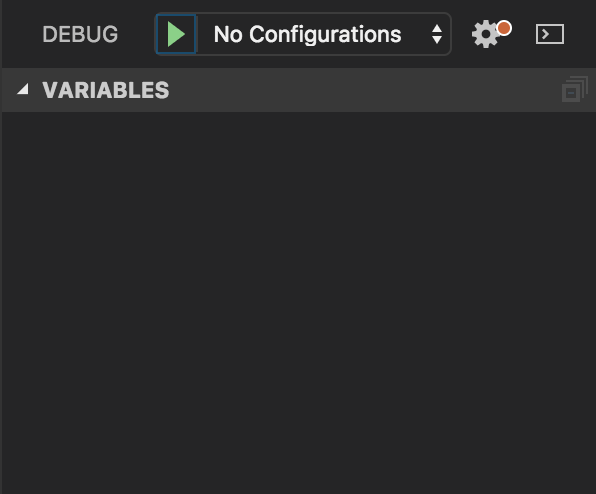
- For debugging your code, a configuration file needs to be added. Go to the debug section in the left pane and click on add configuration and then select C++ from the options.

- Change the
programsettings in line 11 of launch.json. Add the name of your object file after workspaceFolder.

I hope you enjoyed reading the blog post and this helped in setting the Visual Studio Code on your machine. Visual Studio is absolutely the best compiler that I enjoy using every day.
Happy coding! :)